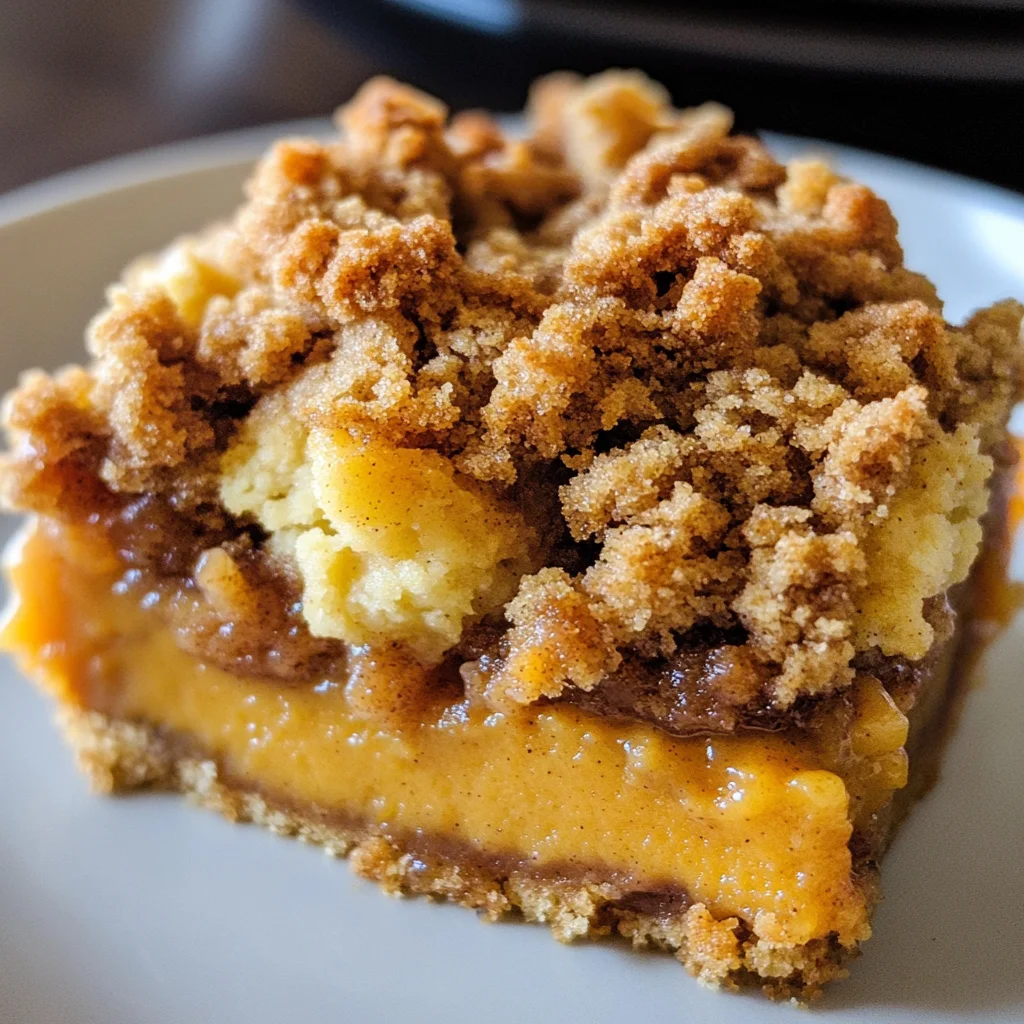
Pumpkin Crisp
If you’re looking for a cozy dessert that captures the essence of fall, then this Pumpkin Crisp is just what you need! It’s a wonderful blend of creamy pumpkin pie filling topped with a crunchy cinnamon streusel. This delightful treat is perfect for family gatherings or even a busy weeknight when you crave something sweet. Plus, there’s nothing quite like the warm aroma of pumpkin and spices wafting through your kitchen!
What makes this recipe special is how it combines the comforting flavors of traditional pumpkin pie with an easy-to-make crisp topping. It’s a crowd-pleaser that will surely become a favorite in your home!
Why You’ll Love This Recipe
- Simple to Prepare: With just a few basic steps, you can whip up this delicious dessert in no time.
- Family-Friendly: Everyone loves pumpkin, and this dish is sure to please both kids and adults alike!
- Perfect for Occasions: Whether it’s Thanksgiving or just a cozy dinner at home, Pumpkin Crisp fits right in.
- Deliciously Versatile: Enjoy it warm with ice cream or even as breakfast the next day; it’s that good!
- Make-Ahead Friendly: You can prepare it ahead of time, making your life easier when hosting guests.
Ingredients You’ll Need
Let’s gather some simple and wholesome ingredients to make this lovely Pumpkin Crisp. You might already have many of these items in your pantry!
For the Pumpkin Filling
- 1 (15 oz) can pumpkin puree
- 1 cup granulated sugar
- 3 large eggs
- 2 teaspoons pumpkin pie spice
- 1/2 teaspoon salt
- 2 teaspoons vanilla extract
- 2/3 cup heavy cream
For the Cinnamon Streusel Topping
- 2 cups all-purpose flour
- 1 1/2 cups granulated sugar
- 2 teaspoons cinnamon
- 1/2 teaspoon salt
- 12 tablespoons (1 1/2 sticks) unsalted butter (melted)
Variations
One of the best things about Pumpkin Crisp is its flexibility! Feel free to get creative with these variations:
- Add Nuts: Toss in some chopped pecans or walnuts for extra crunch.
- Use Different Spices: Swap out pumpkin pie spice for nutmeg or ginger to change up the flavor profile.
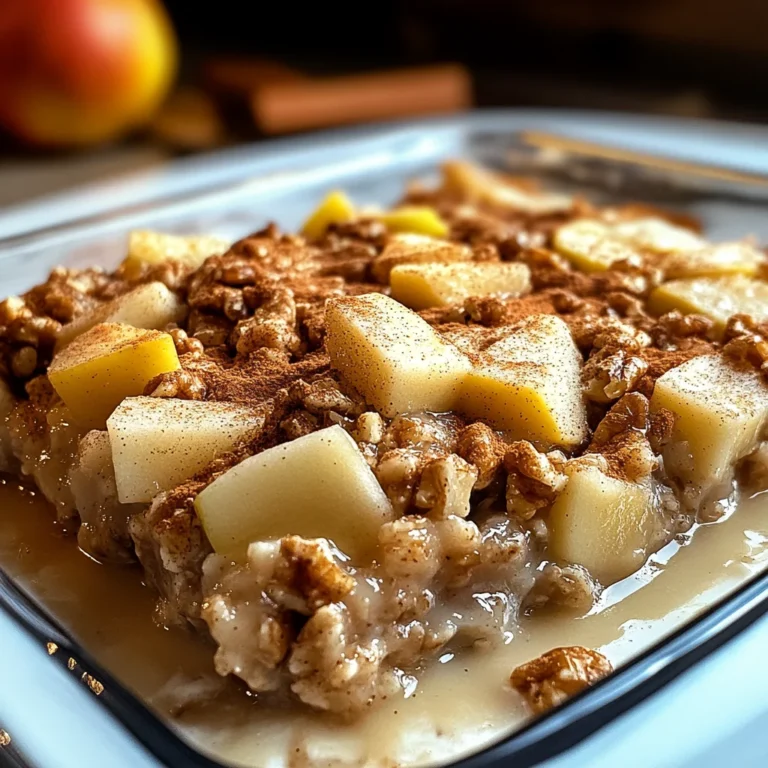
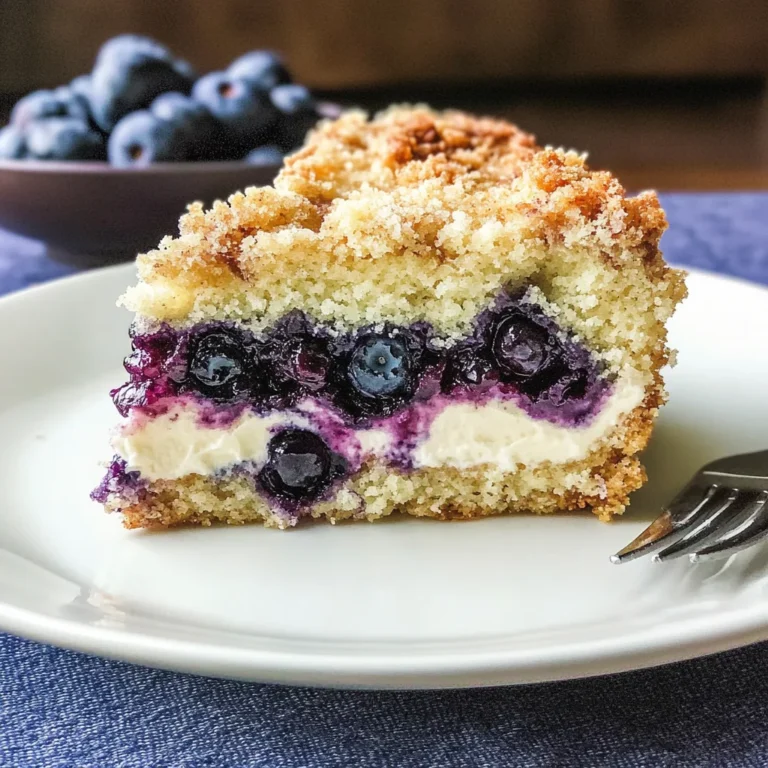
- Try Other Fruits: Layer in some apples or pears beneath the pumpkin filling for added sweetness.
- Make It Gluten-Free: Substitute all-purpose flour with a gluten-free blend to enjoy this dessert without worry.
How to Make Pumpkin Crisp
Step 1: Preheat Your Oven
First things first—preheat your oven to 375°F. This ensures that your Pumpkin Crisp bakes evenly and gets that golden brown top we all love. Butter a 12-inch cast iron skillet or medium casserole dish and set it aside.
Step 2: Prepare the Pumpkin Filling
In a large bowl, whisk together the pumpkin puree, sugar, eggs, pumpkin pie spice, salt, and vanilla extract until everything is combined smoothly. This mixture will be the star of your dish! Once combined, gently whisk in the heavy cream for that rich texture. Pour this luscious filling into your prepared skillet.
Step 3: Make the Cinnamon Streusel Topping
In another medium bowl, whisk together flour, sugar, cinnamon, and salt. Add melted butter and stir with a fork until crumbly. This step creates that irresistible streusel topping! Spread it evenly over the pumpkin filling—this will add both flavor and texture.
Step 4: Bake It Perfectly
Bake your creation for about 40 to 45 minutes until the filling is set and the top turns golden brown. Keep an eye on it; if you notice it browning too quickly, cover it lightly with foil to prevent over-browning.
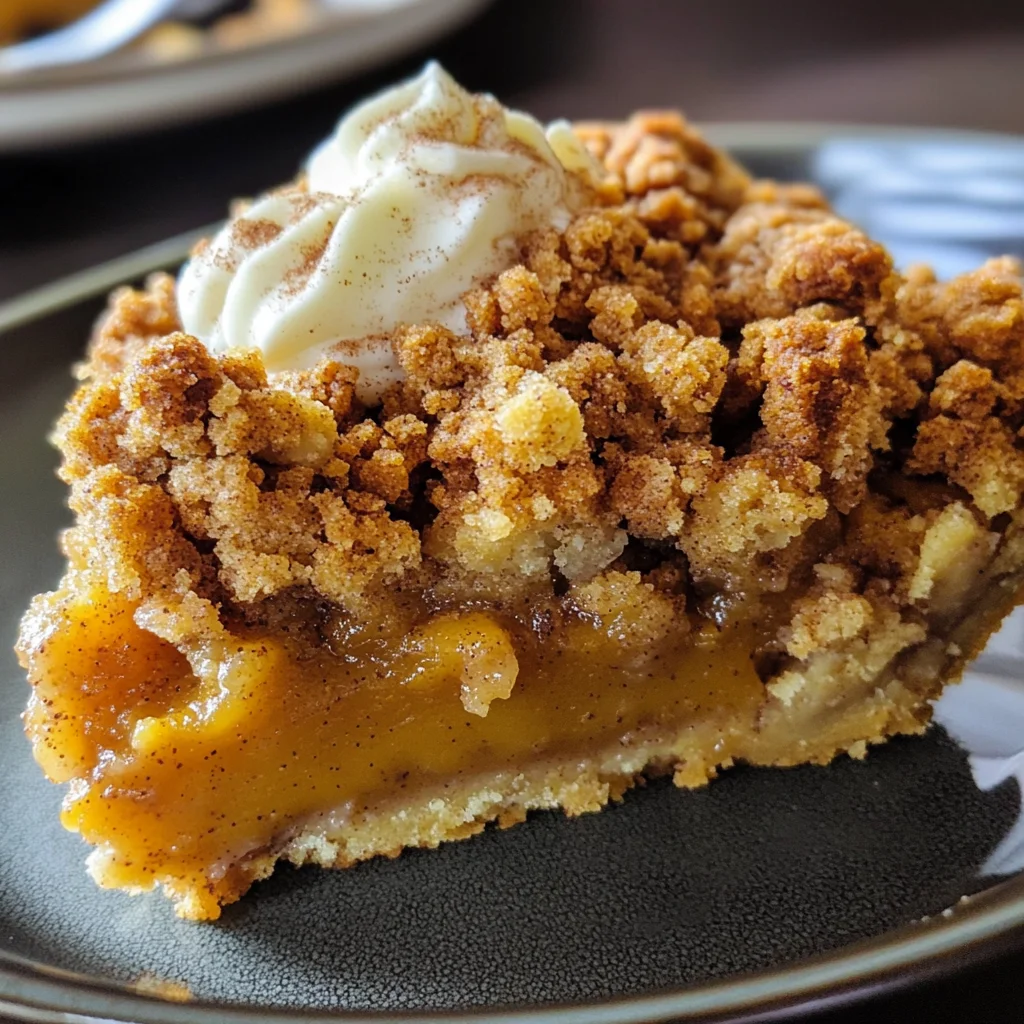
Step 5: Let It Cool and Serve
Once out of the oven, let your Pumpkin Crisp cool for about 10 minutes so that it firms up nicely. Serve it warm topped with ice cream or whipped cream for an extra special treat! Personally, I love pairing my slice with cinnamon ice cream—it’s heavenly!
Now you have everything you need to create this delightful Pumpkin Crisp! Enjoy sharing this recipe with friends and family as much as I do!
Pro Tips for Making Pumpkin Crisp
Making your Pumpkin Crisp just right can take it from good to unforgettable! Here are some handy tips to ensure your dessert comes out perfectly every time.
-
Use fresh pumpkin puree: While canned pumpkin is convenient, fresh pumpkin puree offers a deeper flavor and richer texture that enhances the overall taste of your dish.
-
Check for doneness: To ensure the filling is set but not overbaked, gently jiggle your skillet. If the center has a slight wiggle but is mostly firm, it’s ready to come out of the oven!
-
Cool before serving: Allowing the crisp to cool for about 10 minutes after baking helps the filling firm up and makes for easier serving. Trust me, it’ll hold together better and be less messy!
-
Experiment with spices: Feel free to add a pinch of nutmeg or ginger alongside the pumpkin pie spice to create a unique flavor profile that suits your taste buds.
-
Make it ahead of time: You can prepare the filling and topping separately in advance. Store them in the refrigerator and assemble before baking when you’re ready to serve!
How to Serve Pumpkin Crisp
Presenting your Pumpkin Crisp can be just as fun as making it! Here are some delightful ways to serve this scrumptious dessert that will wow your family and friends.
Garnishes
- Whipped coconut cream: This dairy-free option adds a sweet and creamy touch that complements the flavors perfectly.
- Chopped pecans or walnuts: A sprinkle of nuts on top brings in a crunchy texture, balancing out the softness of the pumpkin filling.
- Drizzle of caramel sauce: A little bit of caramel provides an indulgent sweetness that pairs wonderfully with pumpkin.
Side Dishes
- Apple cider: The refreshing, tart flavor of apple cider makes for an excellent beverage pairing that enhances the autumn vibes of your meal.
- Roasted Brussels sprouts: The savory earthiness of Brussels sprouts contrasts beautifully with the sweetness of Pumpkin Crisp, creating a balanced plate.
- Cranberry sauce: The tanginess from cranberry sauce cuts through the richness of dessert, providing a delightful palate cleanser.
- Vanilla ice cream: Classic yet irresistible, serving vanilla ice cream alongside your warm Pumpkin Crisp creates a comforting combination that’s sure to please everyone.
Enjoy crafting this delicious Pumpkin Crisp and sharing it with loved ones—it’s bound to become a cherished fall tradition!
Make Ahead and Storage
This Pumpkin Crisp is perfect for meal prep, making it a fantastic choice for busy days or gatherings. You can easily store leftovers or even prepare it in advance, ensuring you always have a delicious fall dessert on hand.
Storing Leftovers
- Allow the Pumpkin Crisp to cool completely before storing.
- Cover the dish tightly with plastic wrap or aluminum foil.
- Store in the refrigerator for up to 3 days.
Freezing
- To freeze, let the Pumpkin Crisp cool entirely first.
- Cut into individual servings and wrap each piece in plastic wrap, then place them in an airtight container or freezer bag.
- Freeze for up to 2 months.
Reheating
- Thaw frozen Pumpkin Crisp in the refrigerator overnight before reheating.
- Preheat your oven to 350°F (175°C).
- Place the crisp in an oven-safe dish and cover it with foil to prevent over-browning.
- Heat for about 20-25 minutes or until warmed through.
FAQs
Here are some common questions about this delightful Pumpkin Crisp recipe.
Can I make this Pumpkin Crisp without heavy cream?
Absolutely! You can substitute the heavy cream with coconut cream or a dairy-free alternative like almond milk, which will still give it a creamy texture.
How do I ensure my Pumpkin Crisp filling sets properly?
Make sure to bake the Pumpkin Crisp until the filling is set and not jiggly in the center. The baking time can vary slightly based on your oven, so keeping an eye on it during the last few minutes is key!
What can I serve with my Pumpkin Crisp?
This Pumpkin Crisp pairs wonderfully with vanilla ice cream, whipped coconut cream, or even a sprinkle of crushed nuts for added crunch!
Can I use fresh pumpkin instead of canned puree?
Yes! If you prefer fresh pumpkin, roast and puree it until smooth. Just ensure that it’s well-drained so that your filling isn’t too watery.
Final Thoughts
I hope you enjoy making this delightful Pumpkin Crisp! With its creamy pumpkin filling and crunchy streusel topping, it’s sure to become a beloved fall favorite. Whether you’re serving it at a family gathering or enjoying it as a cozy treat at home, each bite is filled with warmth and comfort. Happy baking, and don’t hesitate to share your experiences!
Pumpkin Crisp

Indulge in the cozy flavors of fall with this delightful Pumpkin Crisp! This easy-to-make dessert features a rich, creamy pumpkin filling layered beneath a heavenly cinnamon streusel topping. Perfect for family gatherings or a sweet weeknight treat, the warm aromas of pumpkin and spices will fill your kitchen with seasonal cheer. Whether served warm with a scoop of ice cream or enjoyed as a delicious breakfast the next day, this Pumpkin Crisp is bound to become a cherished favorite in your home. Simple enough for any skill level, it’s an inviting dessert that brings comfort and joy to every occasion.
- Prep Time: 15 minutes
- Cook Time: 45 minutes
- Total Time: 1 hour
- Yield: Serves approximately 12 1x
- Category: Dessert
- Method: Baking
- Cuisine: American
Ingredients
- 1 (15 oz) can pumpkin puree
- 1 cup granulated sugar
- 3 large eggs
- 2 teaspoons pumpkin pie spice
- 1/2 teaspoon salt
- 2 teaspoons vanilla extract
- 2/3 cup heavy cream
- 2 cups all-purpose flour
- 1 1/2 cups granulated sugar (for topping)
- 2 teaspoons cinnamon
- 12 tablespoons unsalted butter (melted)
Instructions
- Preheat your oven to 375°F and butter a medium casserole dish.
- In a large bowl, whisk together the pumpkin puree, sugar, eggs, pumpkin pie spice, salt, and vanilla until smooth. Mix in the heavy cream until well combined.
- In another bowl, combine flour, sugar for topping, cinnamon, and salt. Stir in melted butter until crumbly.
- Pour the pumpkin filling into the prepared dish and spread the streusel topping evenly over it.
- Bake for 40 to 45 minutes until set and golden brown. Let cool for about 10 minutes before serving.
Nutrition
- Serving Size: 1 serving
- Calories: 290
- Sugar: 24g
- Sodium: 150mg
- Fat: 14g
- Saturated Fat: 8g
- Unsaturated Fat: 5g
- Trans Fat: 0g
- Carbohydrates: 38g
- Fiber: 2g
- Protein: 4g
- Cholesterol: 80mg