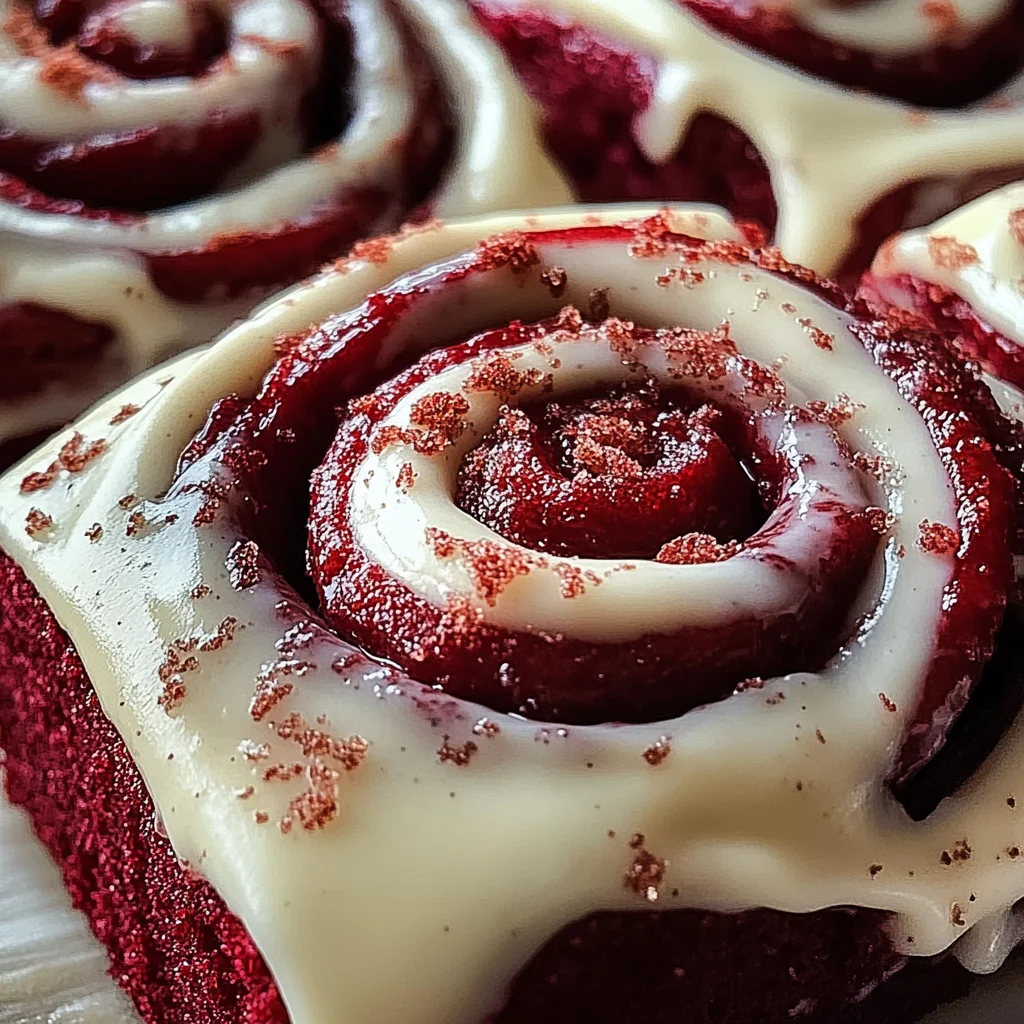
ed Velvet Cinnamon Rolls: A Decadent Twist on a Classic
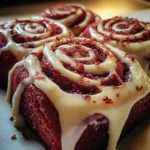
If you’re looking for a delightful treat that brings joy to any occasion, you’ve come to the right place! These Red Velvet Cinnamon Rolls: A Decadent Twist on a Classic are not just visually stunning, but oh-so-delicious. Imagine soft, fluffy rolls with a rich cinnamon filling, all topped off with a creamy frosting that melts in your mouth. Whether it’s brunch with friends, a cozy family gathering, or simply a sweet indulgence after dinner, these rolls are sure to impress.
I love this recipe because it combines the classic flavors of cinnamon rolls with the festive flair of red velvet. It’s perfect for when you want to celebrate life’s little moments or just treat yourself. Plus, they’re surprisingly easy to make!
Why You’ll Love This Recipe
- Easy to prepare: The steps are simple and straightforward, making it great for bakers of all skill levels.
- A crowd-pleaser: Everyone loves the combination of flavors and textures in these rolls!
- Perfect for special occasions: Serve them at birthdays, holidays, or even just because—it’s always a good time for cinnamon rolls.
- Make-ahead option: Prepare the dough ahead of time and bake fresh rolls in the morning for a warm breakfast treat.
- Stunning presentation: The gorgeous red color makes these rolls eye-catching and perfect for sharing.
Ingredients You’ll Need
Let’s dive into the ingredients! These are simple, wholesome items that you probably already have on hand. Gather these up, and let’s get baking!
For the Dough:
- 4 cups all-purpose flour
- 1/4 cup granulated sugar
- 1 packet (2 1/4 tsp) active dry yeast
- 1/2 tsp salt
- 1/2 cup whole milk, warm
- 1/2 cup water, warm
- 1/4 cup unsalted butter, softened
- 2 large eggs
- 2 tbsp unsweetened cocoa powder
- 1 tbsp red food coloring (gel or liquid)
- 1 tsp vanilla extract
For the Filling:
- 1/2 cup unsalted butter, softened
- 1 cup brown sugar, packed
- 2 tbsp ground cinnamon
- 1/2 tsp salt
For the Cream Cheese Frosting:
- 8 oz cream cheese, softened
- 1/4 cup unsalted butter, softened
- 1 1/2 cups powdered sugar
- 1 tsp vanilla extract
- Pinch of salt
Variations
This recipe is wonderfully flexible! You can easily tweak it to match your taste preferences or dietary needs. Here are some fun ideas:
- Add nuts: Toss in some chopped pecans or walnuts for added crunch and flavor.
- Change up the frosting: Try using a vanilla glaze instead of cream cheese frosting for a lighter option.
- Make it chocolatey: Add chocolate chips to the filling for an extra decadent treat.
- Spice it up: Mix in some nutmeg or cardamom along with the cinnamon for a unique twist.
How to Make Red Velvet Cinnamon Rolls: A Decadent Twist on a Classic
Step 1: Prepare the Dough
Start by combining warm milk and water in a bowl. This step is important because warm liquids help activate the yeast. Add in your yeast and let it sit until frothy—this means it’s ready to work its magic! In another bowl, mix together flour, sugar, cocoa powder, and salt. Once your yeast mixture is bubbly, combine everything together with softened butter and eggs. This will form your lovely dough.
Step 2: Let It Rise
Now that your dough is mixed well, cover it and let it rise in a warm spot until it’s doubled in size—about an hour. This rising time is crucial because it allows air pockets to form within your dough which makes those cinnamon rolls fluffy.
Step 3: Roll Out the Dough
Once your dough has risen beautifully, roll it out on a floured surface into a rectangle shape. This step is where all that delicious filling will go! Spread softened butter across your rolled-out dough evenly so each bite will be rich and flavorful.
Step 4: Add Filling and Roll Up
Sprinkle brown sugar mixed with cinnamon over the buttered dough. Don’t forget that pinch of salt; it enhances flavors beautifully! Now roll up your dough tightly from one end to the other. Cut into equal pieces—you can use dental floss for clean cuts if you like!
Step 5: Bake These Beauties
Place your sliced rolls into a greased baking dish with some space between them. Cover again and let them rise while you preheat your oven. Bake until golden brown; this usually takes about 25 minutes. Your kitchen will smell heavenly!
Step 6: Make the Frosting
While those rolls cool slightly after baking (if you can wait!), whip up your cream cheese frosting by mixing together softened cream cheese and butter with powdered sugar until smooth. Spread generously over those warm rolls before serving.
And there you have it—delicious Red Velvet Cinnamon Rolls: A Decadent Twist on a Classic! Enjoy every scrumptious bite!
Pro Tips for Making Red Velvet Cinnamon Rolls: A Decadent Twist on a Classic
Making the perfect Red Velvet Cinnamon Rolls can be a delightful experience, and with a few helpful tips, you can ensure they turn out beautifully every time!
-
Use warm liquids – Ensuring your milk and water are warm (not hot!) helps activate the yeast properly, leading to fluffy rolls. This warmth creates an inviting environment for the yeast to thrive.
-
Knead the dough well – Take your time kneading the dough until it’s smooth and elastic. This step is crucial as it develops the gluten, giving your rolls that soft, pillowy texture we all love.
-
Let it rise in a warm spot – When letting your dough rise, find a cozy spot in your kitchen where it can rest undisturbed. A warm environment encourages the dough to double in size more effectively.
-
Don’t skip the frosting – The rich cream cheese frosting is what makes these cinnamon rolls truly decadent. Make sure to spread it generously on warm rolls for that melt-in-your-mouth experience.
-
Experiment with fillings – While cinnamon sugar is classic, feel free to get creative! Add nuts, dried fruit, or even chocolate chips for an unexpected twist that enhances the flavor profile.
How to Serve Red Velvet Cinnamon Rolls: A Decadent Twist on a Classic
These Red Velvet Cinnamon Rolls are not just delicious; they also make a stunning centerpiece for any gathering. Here are some ideas to present them beautifully and enhance your dining experience.
Garnishes
- Fresh berries – A handful of strawberries or raspberries on the side adds a pop of color and a refreshing contrast to the sweetness of the rolls.
- Mint leaves – A few sprigs of fresh mint can elevate the presentation and add a hint of freshness that brightens up each bite.
Side Dishes
-
Fruit salad – A light and colorful fruit salad complements the richness of the cinnamon rolls while adding a refreshing crunch. Mix seasonal fruits like melons, berries, and citrus for variety.
-
Yogurt parfaits – Layering yogurt with granola and fresh fruit creates a wholesome side dish that balances the sweetness of the rolls. It’s also an excellent option for brunch!
-
Coffee or tea – Serving these rolls alongside freshly brewed coffee or herbal tea enhances their flavors. The warmth of your beverage pairs perfectly with their decadent nature.
With these serving suggestions and pro tips in mind, you’re ready to impress friends and family with your delightful Red Velvet Cinnamon Rolls! Enjoy every moment spent baking—and even more when indulging in these sweet treats!
Make Ahead and Storage
These Red Velvet Cinnamon Rolls are perfect for meal prep, making them an excellent choice for busy mornings or special gatherings. You can prepare them in advance and enjoy the delightful flavors whenever you need a sweet treat!
Storing Leftovers
- Allow the rolls to cool completely before storing.
- Place them in an airtight container.
- Keep them at room temperature for up to 2 days or refrigerate for up to a week.
Freezing
- Wrap each roll tightly in plastic wrap to prevent freezer burn.
- Place the wrapped rolls in a freezer-safe bag or container.
- Freeze for up to 3 months.
Reheating
- Remove the rolls from the freezer and let them thaw overnight in the refrigerator.
- Reheat in a preheated oven at 350°F (175°C) for about 10-15 minutes until warmed through.
- Alternatively, microwave individual rolls for about 20-30 seconds.
FAQs
Here are some common questions that might come up while making these delicious Red Velvet Cinnamon Rolls.
Can I make Red Velvet Cinnamon Rolls ahead of time?
Yes! You can prepare the dough and filling ahead of time, then assemble and bake the rolls when you’re ready. Just let the assembled rolls rise before baking.
How should I store leftover Red Velvet Cinnamon Rolls?
Store leftover cinnamon rolls in an airtight container at room temperature for up to 2 days or refrigerate them for up to a week.
What is the secret to soft Red Velvet Cinnamon Rolls?
The secret lies in using warm liquids and allowing enough time for the dough to rise properly. This helps create those soft, fluffy textures we love!
Can I freeze Red Velvet Cinnamon Rolls?
Absolutely! Just wrap each roll tightly in plastic wrap and place them in a freezer-safe bag. They can be frozen for up to 3 months!
What can I use instead of cream cheese frosting?
You can make a simple vanilla glaze using powdered sugar, milk, and vanilla extract as an alternative if you prefer something lighter!
Final Thoughts
I hope you enjoy making these Red Velvet Cinnamon Rolls as much as I do! The tender, fluffy texture combined with that rich cream cheese frosting makes this recipe truly special. Whether you’re serving them at brunch or enjoying them as an after-dinner treat, they’re sure to impress your family and friends. Don’t hesitate to dive into this delightful baking adventure—happy cooking!
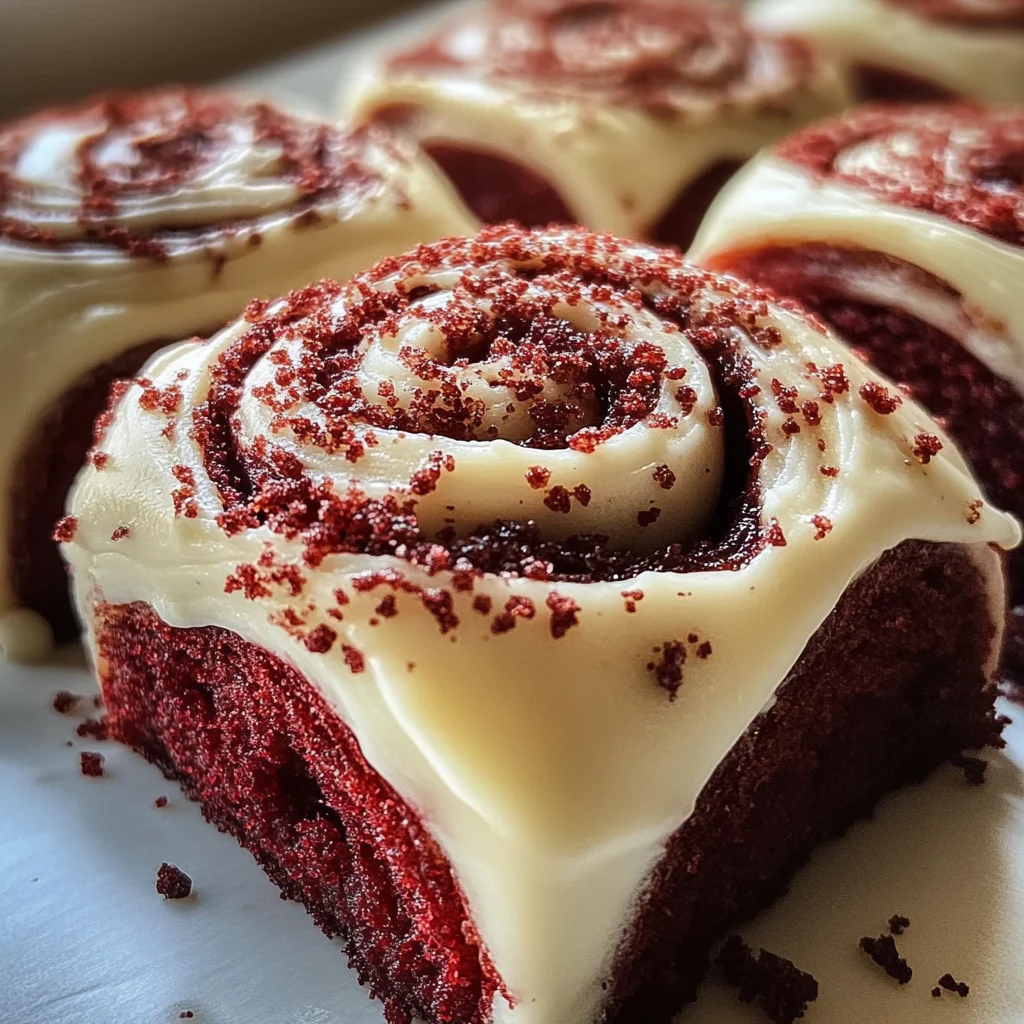
Red Velvet Cinnamon Rolls: A Decadent Twist on a Classic
If you’re craving a delightful treat that will brighten any occasion, these Red Velvet Cinnamon Rolls are the perfect choice. Combining the beloved flavors of classic cinnamon rolls with the festive flair of red velvet, these soft and fluffy rolls feature a rich cinnamon filling and a luscious cream cheese frosting that melts in your mouth. Ideal for brunch gatherings or as a sweet indulgence after dinner, this recipe is surprisingly easy to make and sure to impress friends and family alike. Whether celebrating special moments or simply treating yourself, these vibrant rolls are an irresistible addition to your dessert table.
- Prep Time: 30 minutes
- Cook Time: 25 minutes
- Total Time: 55 minutes
- Yield: About 12 servings 1x
- Category: Dessert
- Method: Baking
- Cuisine: American
Ingredients
- 4 cups all-purpose flour
- 1/4 cup granulated sugar
- 1 packet (2 1/4 tsp) active dry yeast
- 1/2 tsp salt
- 1/2 cup whole milk, warm
- 1/2 cup water, warm
- 1/4 cup unsalted butter, softened
- 2 large eggs
- 2 tbsp unsweetened cocoa powder
- 1 tbsp red food coloring (gel or liquid)
- 1/2 cup unsalted butter, softened (for filling)
- 1 cup brown sugar, packed
- 2 tbsp ground cinnamon
- 1/2 tsp salt (for filling)
- 8 oz cream cheese, softened (for frosting)
- 1/4 cup unsalted butter, softened (for frosting)
- 1 1/2 cups powdered sugar
- 1 tsp vanilla extract
- Pinch of salt (for frosting)
Instructions
- In a bowl, combine warm milk and water. Sprinkle in yeast and let it froth.
- In another bowl, mix flour, sugar, cocoa powder, and salt. Combine with the yeast mixture along with softened butter and eggs.
- Knead until smooth and let rise in a warm spot until doubled (about an hour).
- Roll out dough into a rectangle. Spread softened butter over it.
- Mix brown sugar with cinnamon and sprinkle over the dough; roll tightly and cut into pieces.
- Place slices in a greased baking dish to rise again before baking at 350°F for about 25 minutes.
- For frosting, whip cream cheese and butter together, adding powdered sugar until smooth. Spread on warm rolls.
Nutrition
- Serving Size: 1 serving
- Calories: 310
- Sugar: 14g
- Sodium: 150mg
- Fat: 12g
- Saturated Fat: 7g
- Unsaturated Fat: 5g
- Trans Fat: 0g
- Carbohydrates: 44g
- Fiber: 2g
- Protein: 5g
- Cholesterol: 45mg